Installing and connecting to MageStack with OpenVPN
Table of Contents
OpenSSL 3 - OpenVPN 2.6 and Tunnelblick 4.0.0beta15
Please note that the stacks don't currently support OpenSSL 3, so you may encounter errors when trying to connect using the OpenVPN 2.6 client on Windows, or the Tunnelblick 4.0.0beta15 client (and later versions) on Mac.
For the time being, please downgrade to either OpenVPN 2.5.9, or either Tunnelblick 4.0.0beta13 or 3.8.8g.
Please see https://www.sonassi.com/help/access/openvpn-2-6-openssl-3-support for further information.
After issuing a VPN bundle, you will be been sent 2 emails.
- The first email contains a password for the ZIP file attached in the second email
-
This email contains a password protected ZIP file, within this archive, there are 3 files
- OpenVPN configuration file (
dhX.cX.sonassihosting.com.ovpn) - OpenVPN certificate file (
cX_user@example.com.p12) - OpenVPN passphrase for certificate file (
Passphrase.txt) [Optional]
- OpenVPN configuration file (
All files (excluding Passphrase.txt) should be copied into the OpenVPN config directory, at which point, the OpenVPN GUI client will recognise the file and allow you to connect to the VPN.
Windows XP/Vista/7/8
Start by downloading the appropriate version of OpenVPN from https://openvpn.net/index.php/open-source/downloads.html, choosing either the 32Bit (i686) or 64Bit (x86_64) as appropriate.
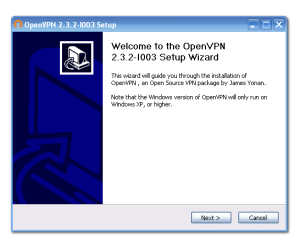
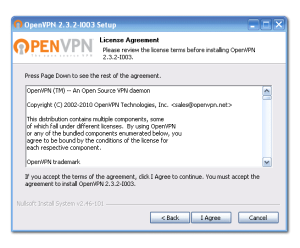
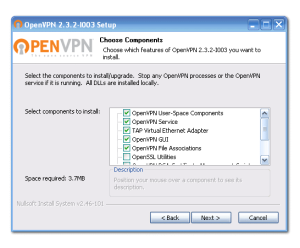
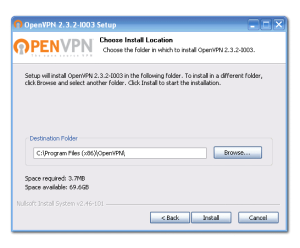
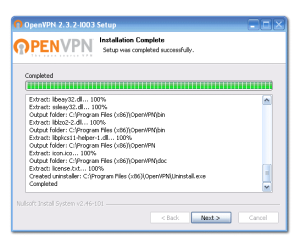
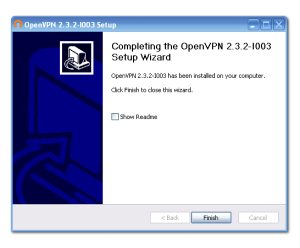
Then open the file you downloaded and start the installer. You do not need to change any of the settings during the installation, it is safe to leave everything on the selected defaults.
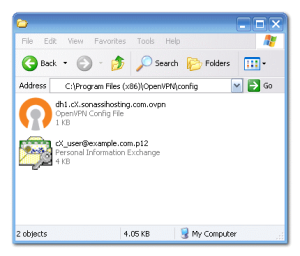
Once the installation is complete, you should copy the configuration files from the ZIP archive we sent, to the OpenVPN configuration directory. Depending on the version of OpenVPN you installed, the path will either of the following:
c:\Program Files (x86)\OpenVPN\config
c:\Program Files\OpenVPN\config
Click Start > Run (Windows key + R), and enter the appropriate path from above, then copy the configuration files into the configuration directory
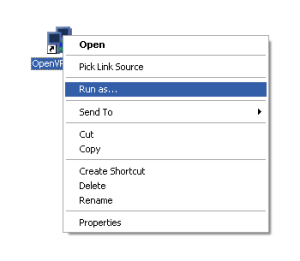
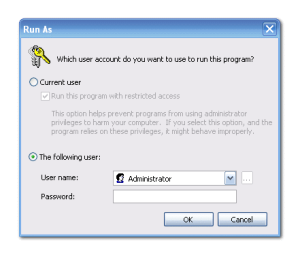
Then open OpenVPN as an administrator, a small icon will appear in the tray, right click the icon and select connect.
If your certificate is passprhase protected, enter the passphrase (from the Passphrase.txt file) when prompted.
Checking the VPN is connected
Once the VPN connection has been established, you can test whether it is working properly by performing a simple ping test.
- Click Start > Run (Windows key + R)
- Type
cmd - In the command prompt that appears, type
ping 172.16.0.61
If the VPN is connected, you should see responses. If it is not, you will see a timeout/connection error.
! OpenVPN MUST be run as Administrator, failure to do so will result in the VPN not connecting
Mac OS X
Start by downloading the appropriate version of Tunnelblick from https://tunnelblick.net/downloads.html.
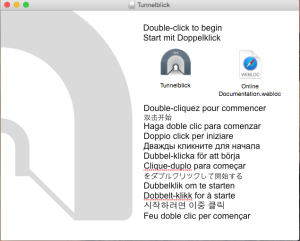
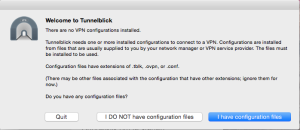
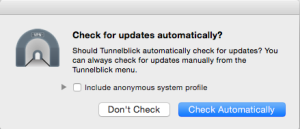
Once the install has completed, you will be prompted to start Tunnelblick and set the initial configuration.
You should now extract the configuration file from the Mac folder in the ZIP archive we sent:
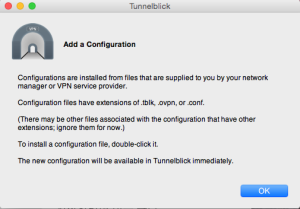
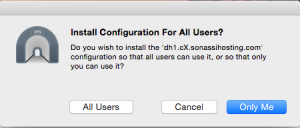
Install the bundle by double clicking the .tblk file which will prompt you as follows:
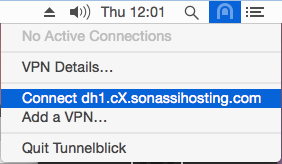
You can now connect to the VPN by clicking the Tunnelblick icon in the menu and selecting the Connect option:
Linux
The command will vary depending on the Linux distribution and/or package manager you're using - but for Ubuntu or Debian which both use the apt package manager, you can install OpenVPN by running:
sudo apt install openvpnChecking the VPN is connected
Once the VPN connection has been established, you can test whether it is working properly by performing a simple ping test.
- Open the
Finderand navigate to theApplicationsfolder - Find the
Utilitiesfolder and open it - Double click
Terminal - In the command prompt that appears, type
ping 172.16.0.61
If the VPN is connected, you should see responses. If it is not, you will see a timeout/connection error.


