


Holding customers at bay with a Magento queuing system


We're rapidly approaching peak season again and traffic scaling is once again at the top of all Magento store's checklists. There's three ways to help a Magento store cope with high levels of traffic,
- Add additional hardware (like overflow servers)
- Optimise Magento store code to perform better
- Restrict the number of users on the site
I'm going to touch on the final point and how you can natively achieve this with MageStack through its built-in queuing engine.
Introducing MageStack-Queue
Whether you want to create an atmosphere of demand/competition or guarantee customers on the site can complete their checkout - queue systems have their place on all websites. Deploying one early can give confidence that no matter what traffic is thrown at you, you'll be able to ensure that your given limit of customers will always be able to access your site.
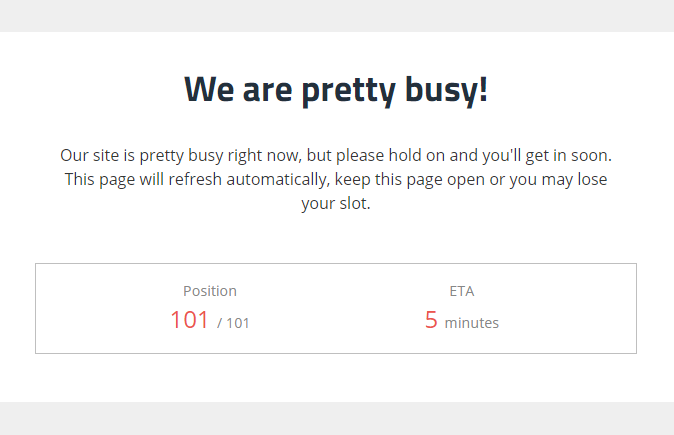
Think of MageStack queue of being a virtual waiting room, where users who are first-in, are the first-out; where you can present a custom queue page with full Google Analytics integration to monitor how many users are in the queue (and for how long).
When your queue is active, it looks something like this,
Installation
MageStack Queue can be installed as a composer package (so easily deployed with Magento 2, Laravel etc.) or as a standalone PHP library (for Magento 1, WordPress etc.).
Detailed installation steps can be found on the project homepage - but in this article, I'll show how it can be quickly integrated into an existing Magento 1 store.
Detailed installation steps can be found on the project homepage - but in this article, I'll show how it can be quickly integrated into an existing Magento 1 store.
-
Download and extract the module, I'm going to install it on example.com (replace as necessary)
cd /microcloud/domains/example/domains/example.com wget --no-check-certificate https://github.com/sonassi/magestack-queue/archive/master.zip -O magestack-queue.zip unzip magestack-queue.zip mv magestack-queue-master ___queue rm magestack-queue.zip -
Edit Magento's
index.phpto include,require __DIR__.'/../___queue/queue.php'; -
Then, we'll set up the module to use the built-in SQLite DB and then change it to MySQL mode for production
cd ___queue php queue.php --install -
Now lets simulate some users and check out the queue status,
php queue.php --simulate 101
php queue.php --status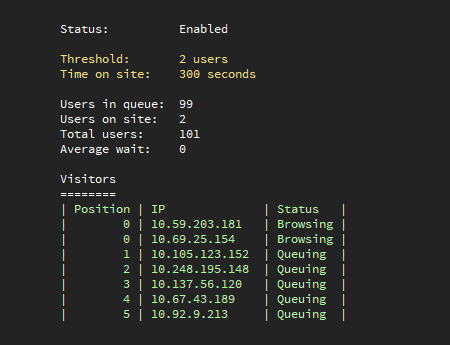
That's pretty much it in terms of setting up the module, the remaining steps are to,